


 Lighting


In machine vision, lighting is everything. Even the most advanced camera and lens can underperform if the lighting setup isn’t optimized. Poor illumination leads to inconsistent results, missed defects and unreliable data. But the good news is most lighting issue are common, and fixable.
Here are six of the most frequent lighting mistakes in industrial imaging, along with practical solutions to improve performance and consistency.
Ignoring Glare and Reflections:
The Problem: Highly reflective surfaces like metal, glass or plastic can create hot spots and glare, obscuring critical features. The Fix: Use diffuse lighting or polarized lighting to minimize reflections. Adding a diffuser softens the light, while polarization (paired with the right optical filters) can significantly reduce glare and improve contrast.
Uneven Illumination:
The Problem: Hot spots and shadows across the field of view can lead to inconsistent inspection results and false rejects. The Fix: Ensure uniform light distribution by using:
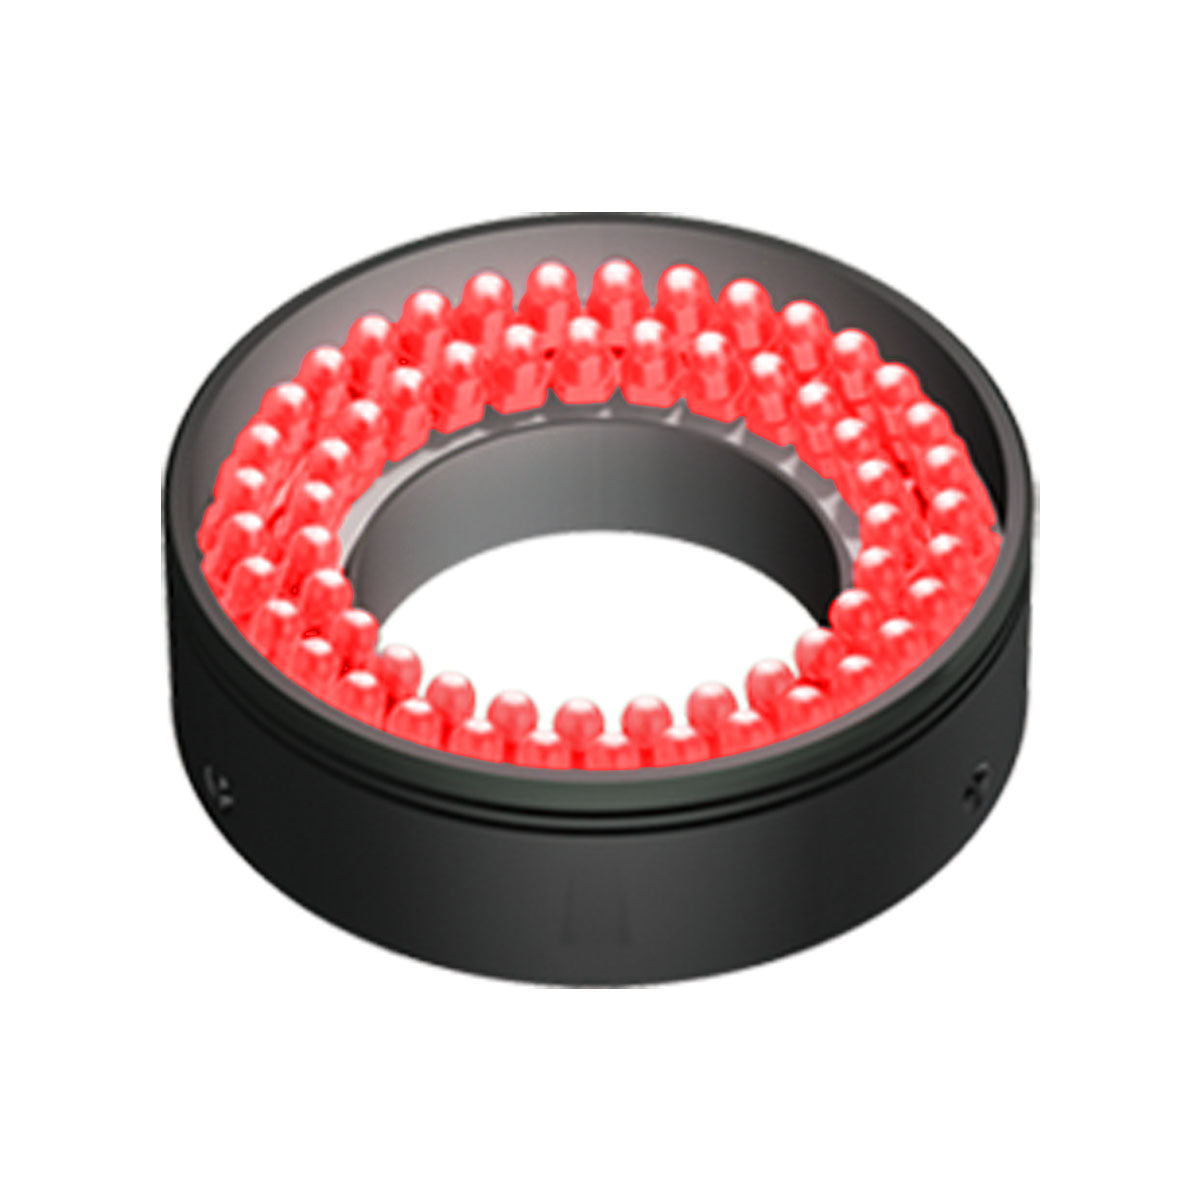
- Ring lights for even, centralized illumination
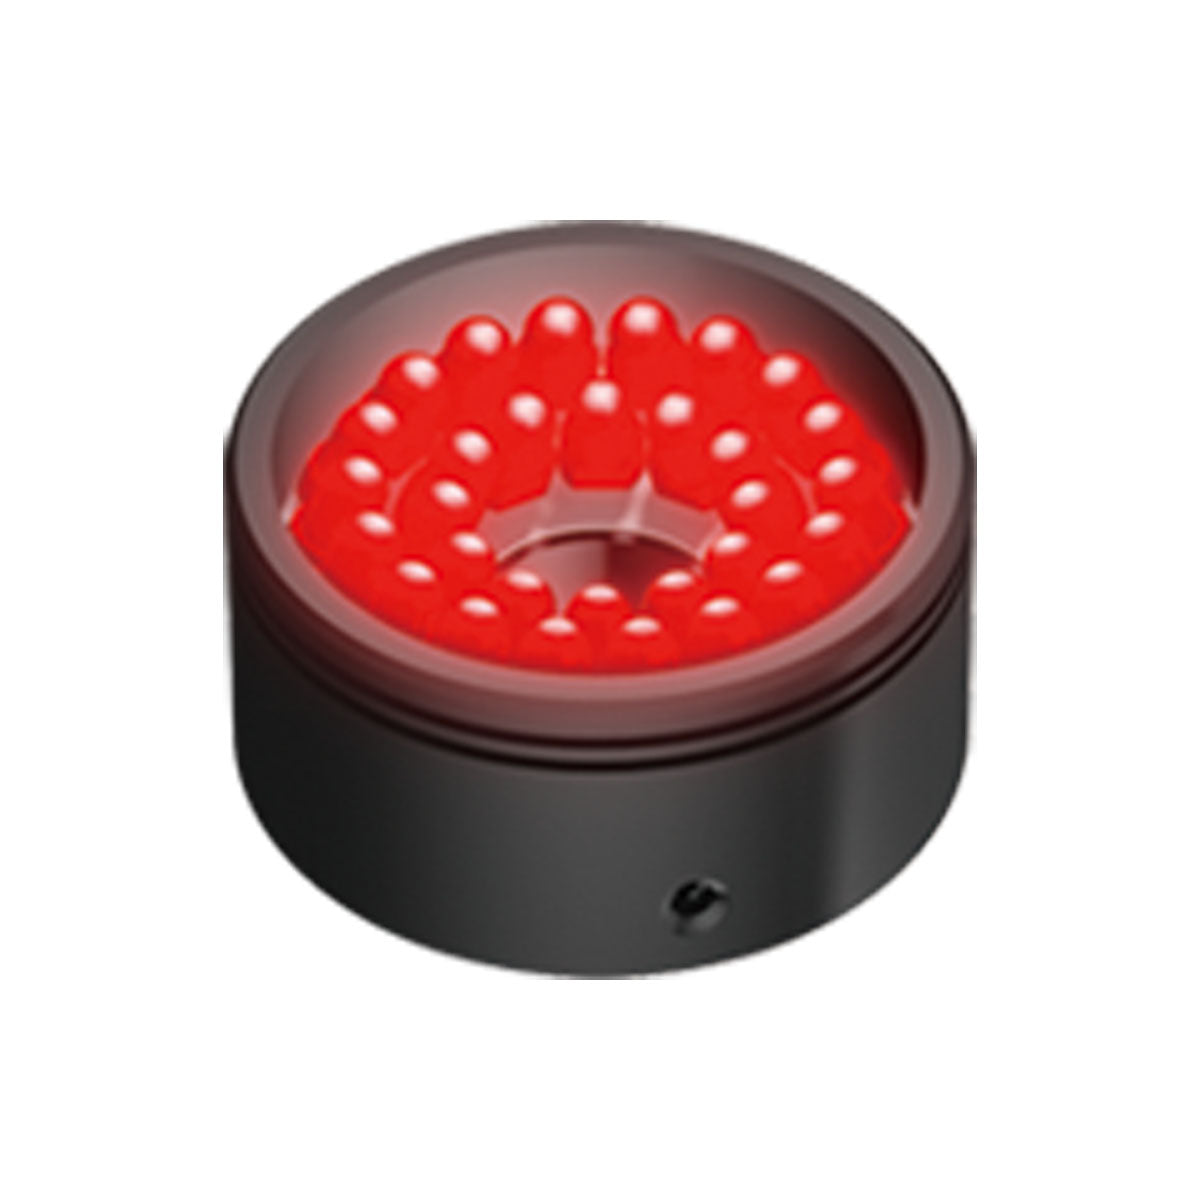
- Dome lights for highly diffuse, shadow-free lighting
- Proper positioning to eliminate falloff across the image
Consistency across the entire scene is key for reliable machine vision.
Overexposure or Underexposure
The Problem: Too much light washes out details, while too little hides critical features in shadow. The Fix: Balance lighting intensity with camera settings:
- Adjust exposure time and gain
- Use controllable LED lighting systems
- Incorporate neutral density filters if needed
Aim for a well-balanced histogram with visible detail across the image.
Incorrect Lighting Angle
The Problem: Lighting from the wrong angle can flatten features or hide surface defects entirely. The Fix: Experiment with lighting geometry:
- Low-angle (dark field) lighting enhances surface texture and scratches
- Bright field lighting highlights overall shape and color
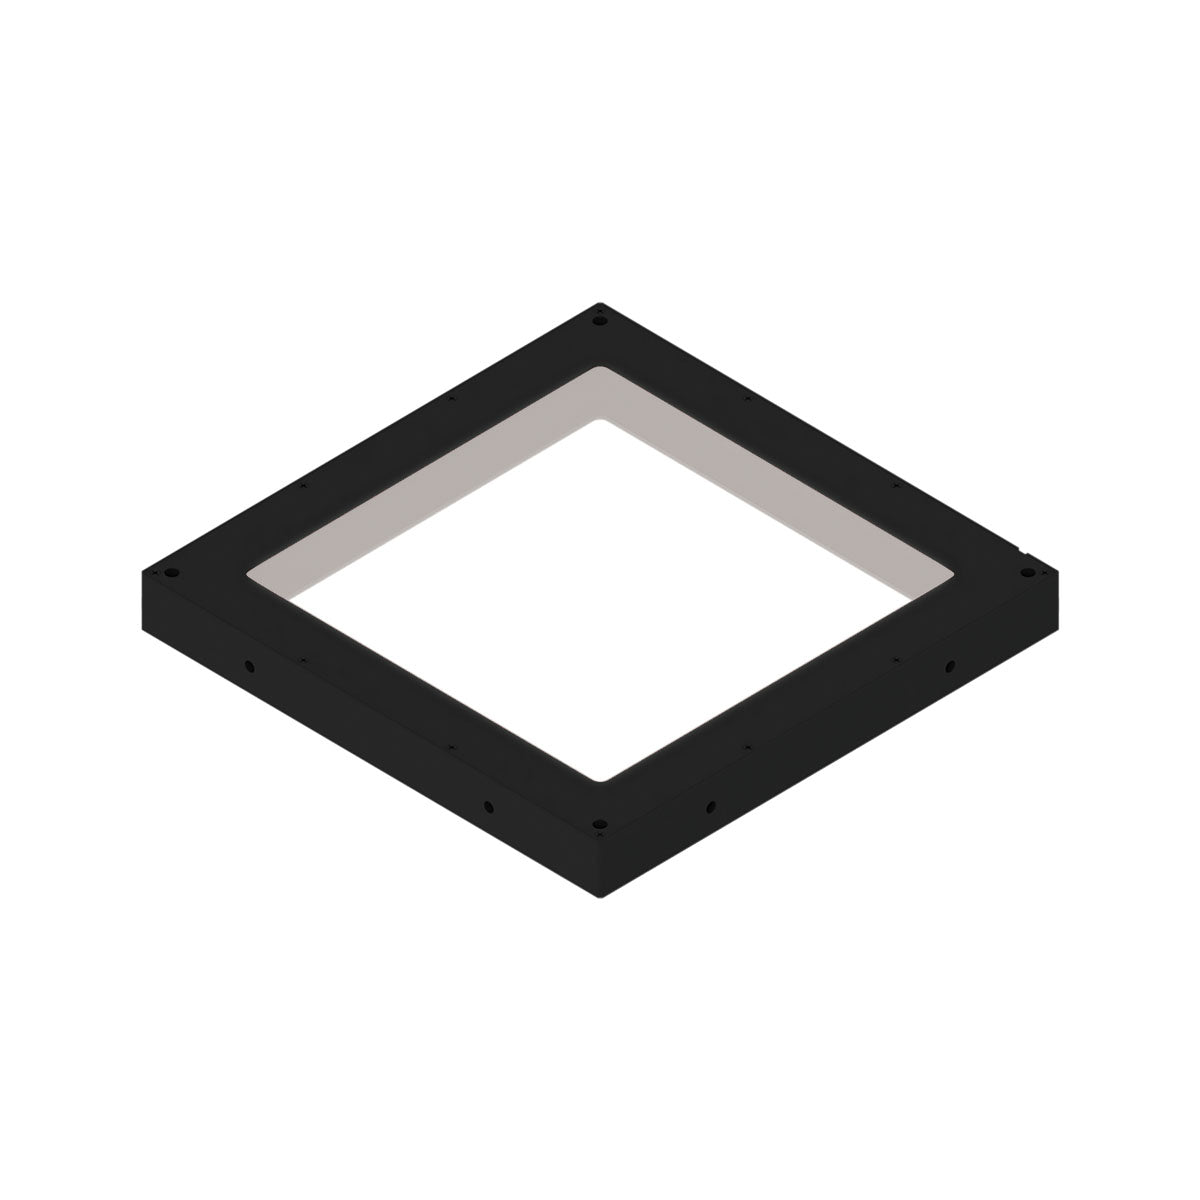
- Backlighting creates strong silhouettes for edge detection and measurement
The right angle reveals the features you actually need to inspect.
Not Matching Lighting to the Application
The Problem: A one-size-fits-all lighting setup rarely works across different materials or inspection goals. The Fix: Choose lighting based on the application:
- Use backlighting for gauging and silhouette inspection
- Use structured or directional lighting for texture analysis
- Match wavelength (color) to material properties for maximum contrast
Tailored lighting delivers better, more repeatable results.
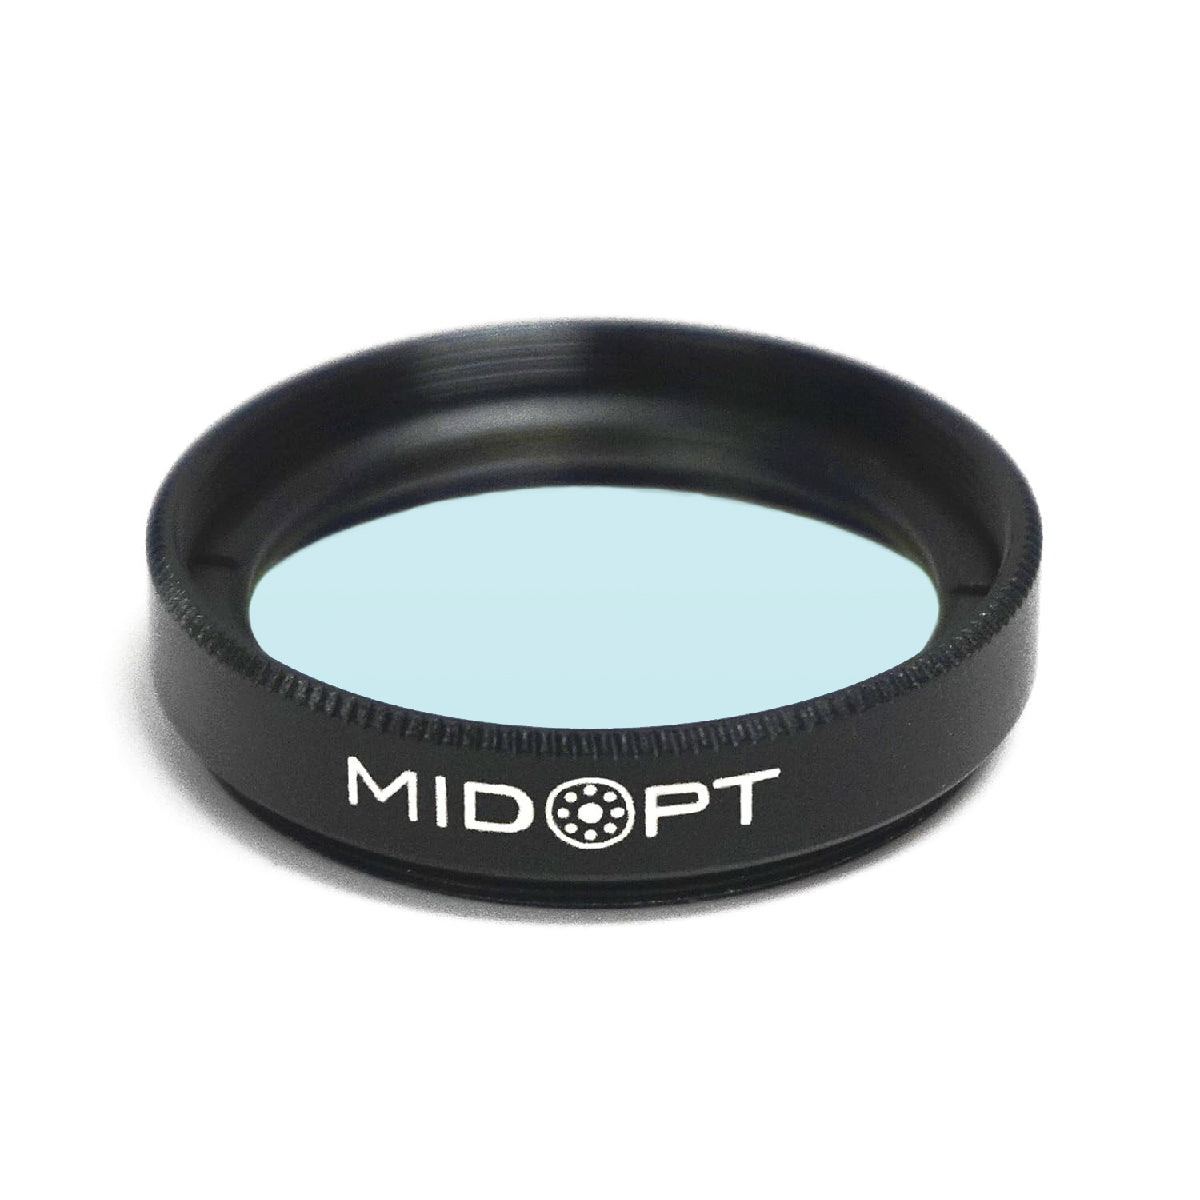
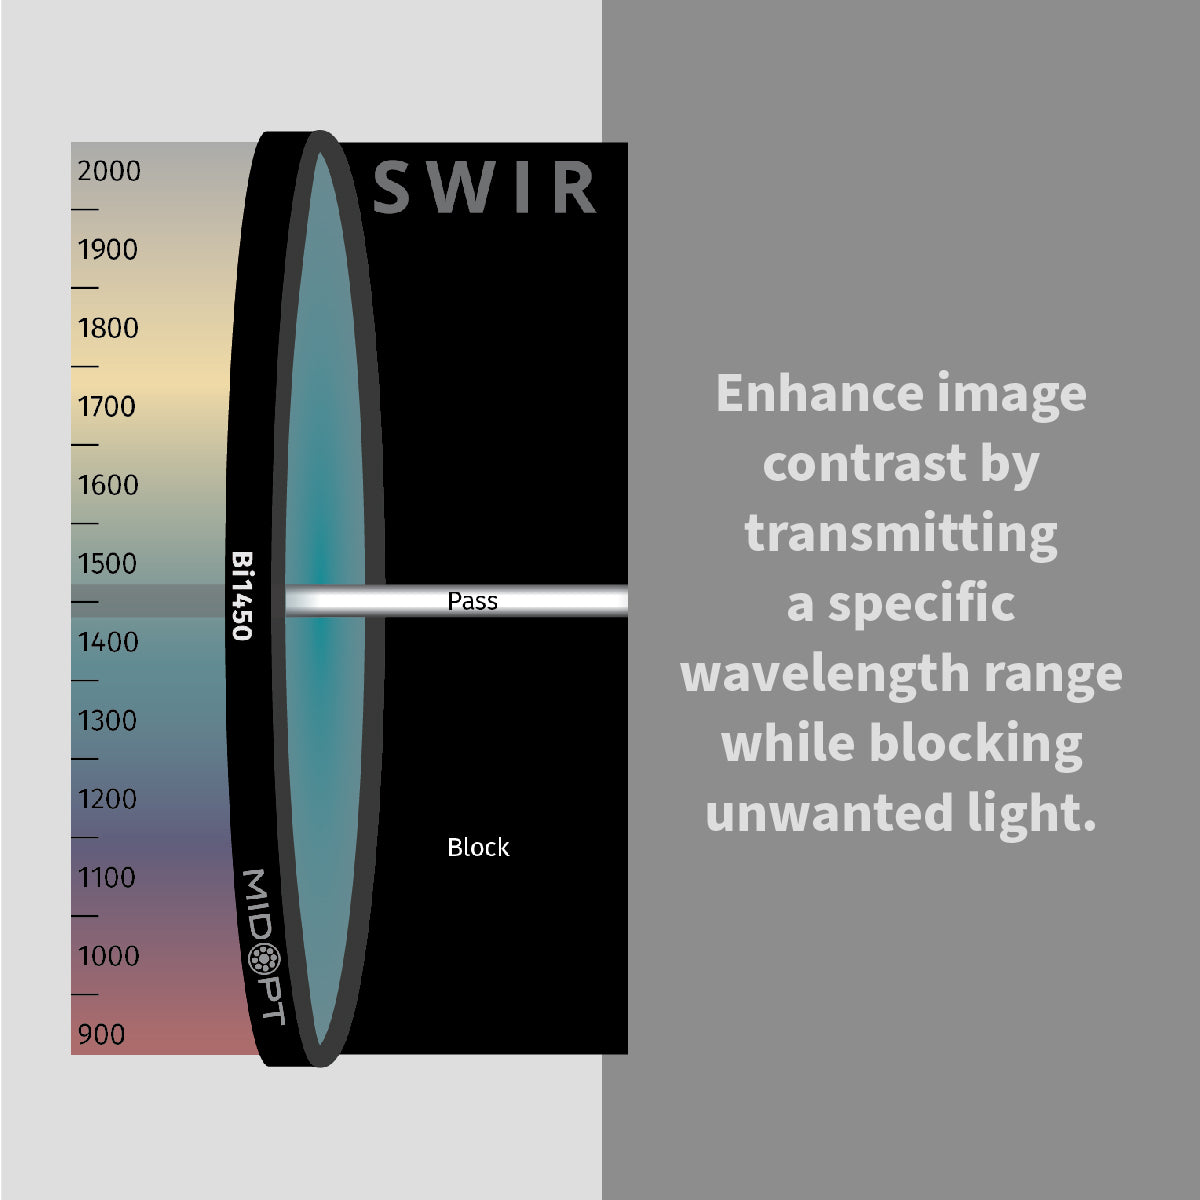
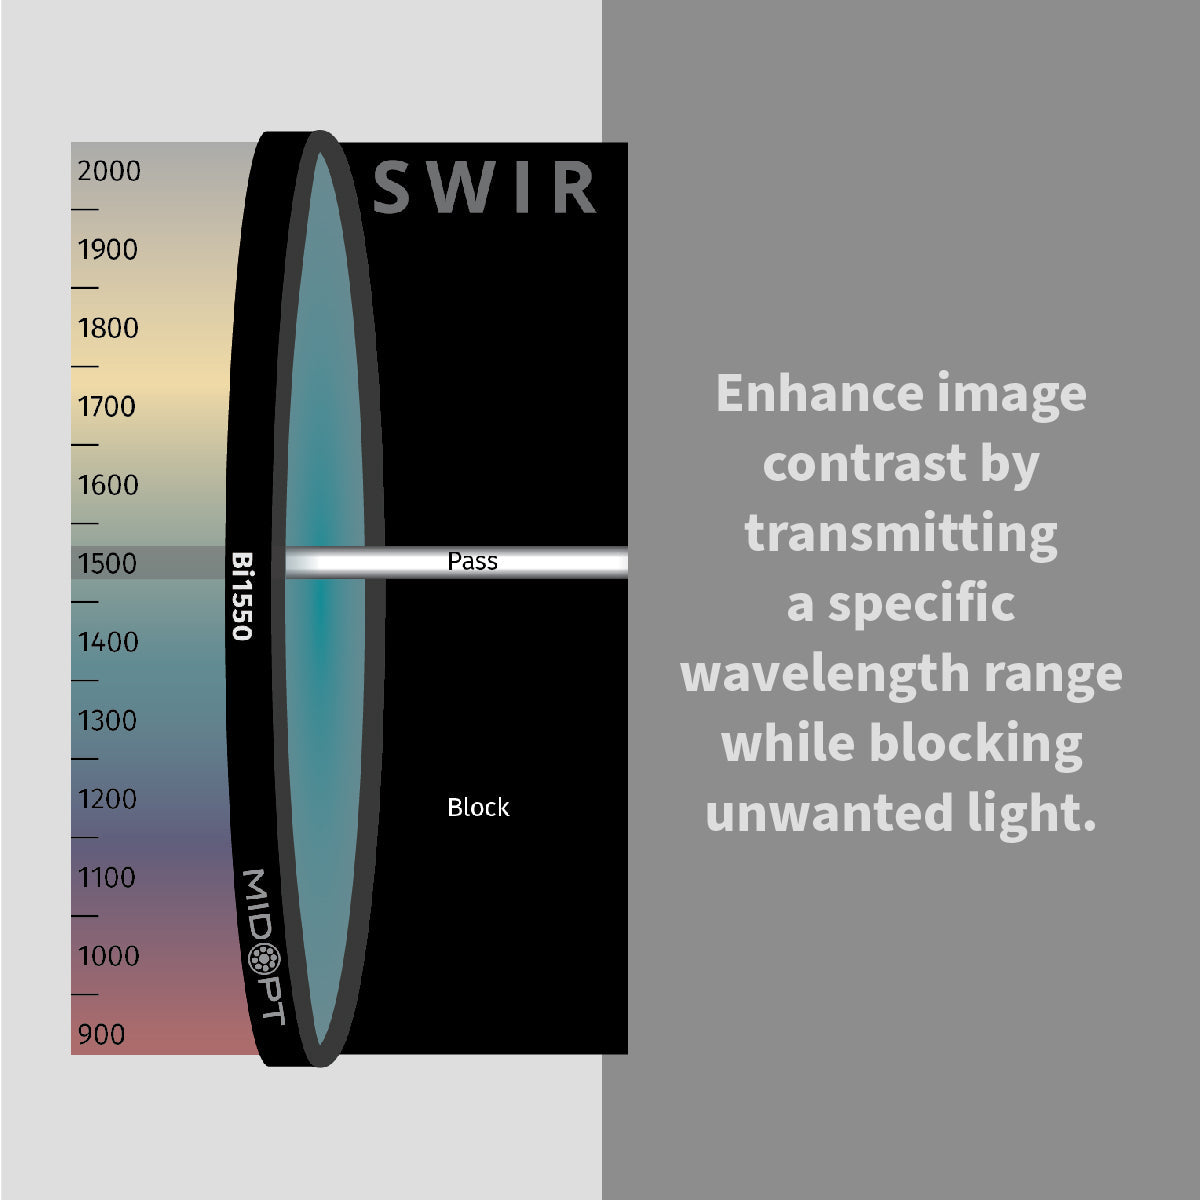
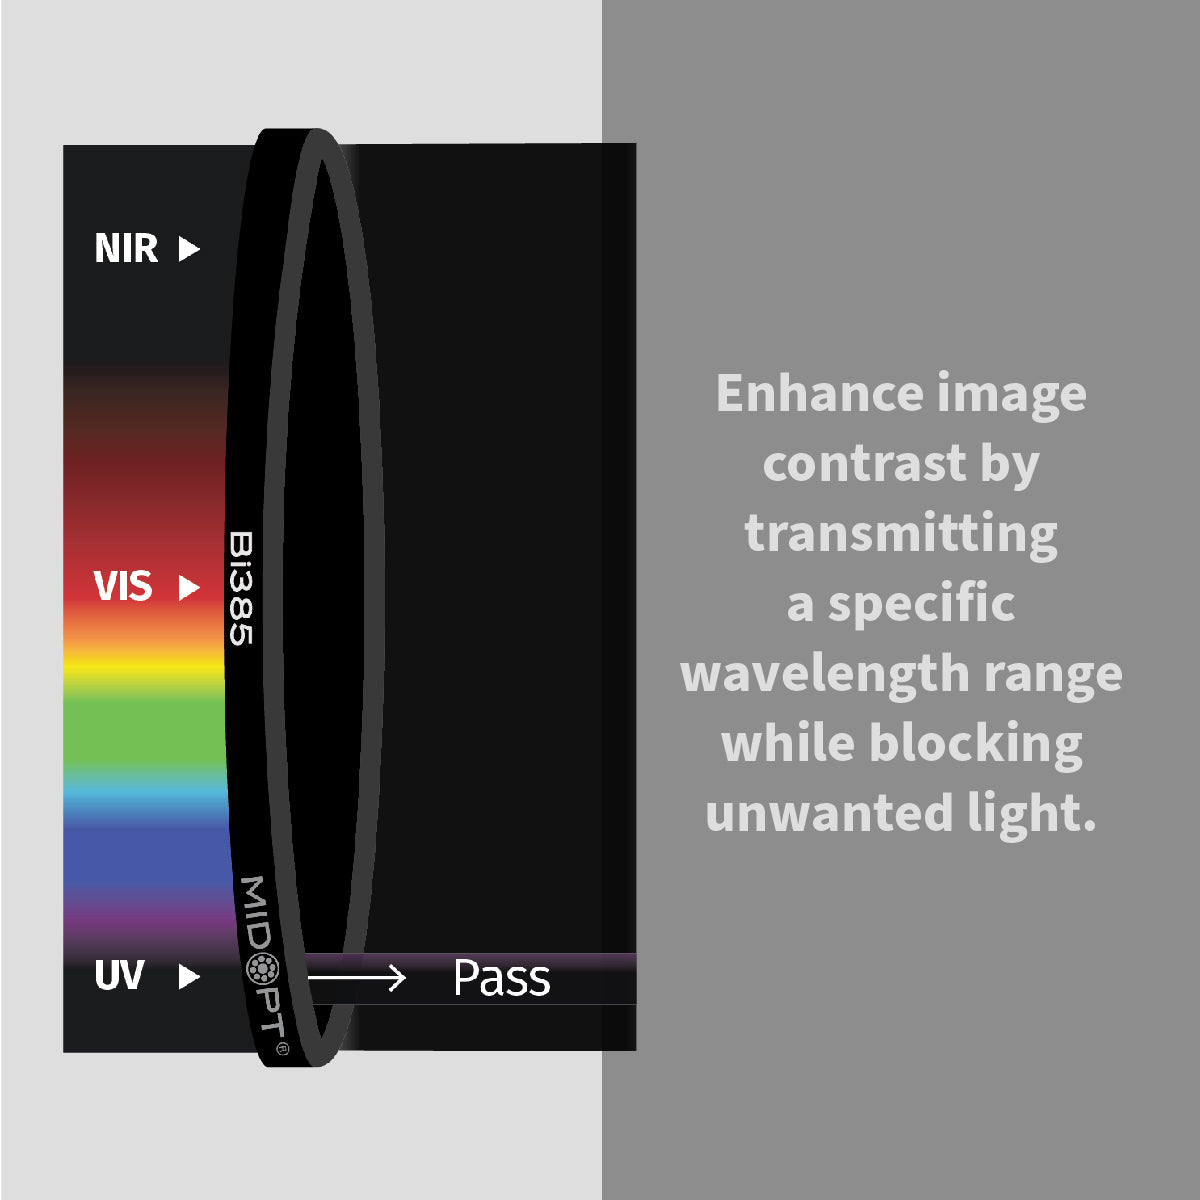
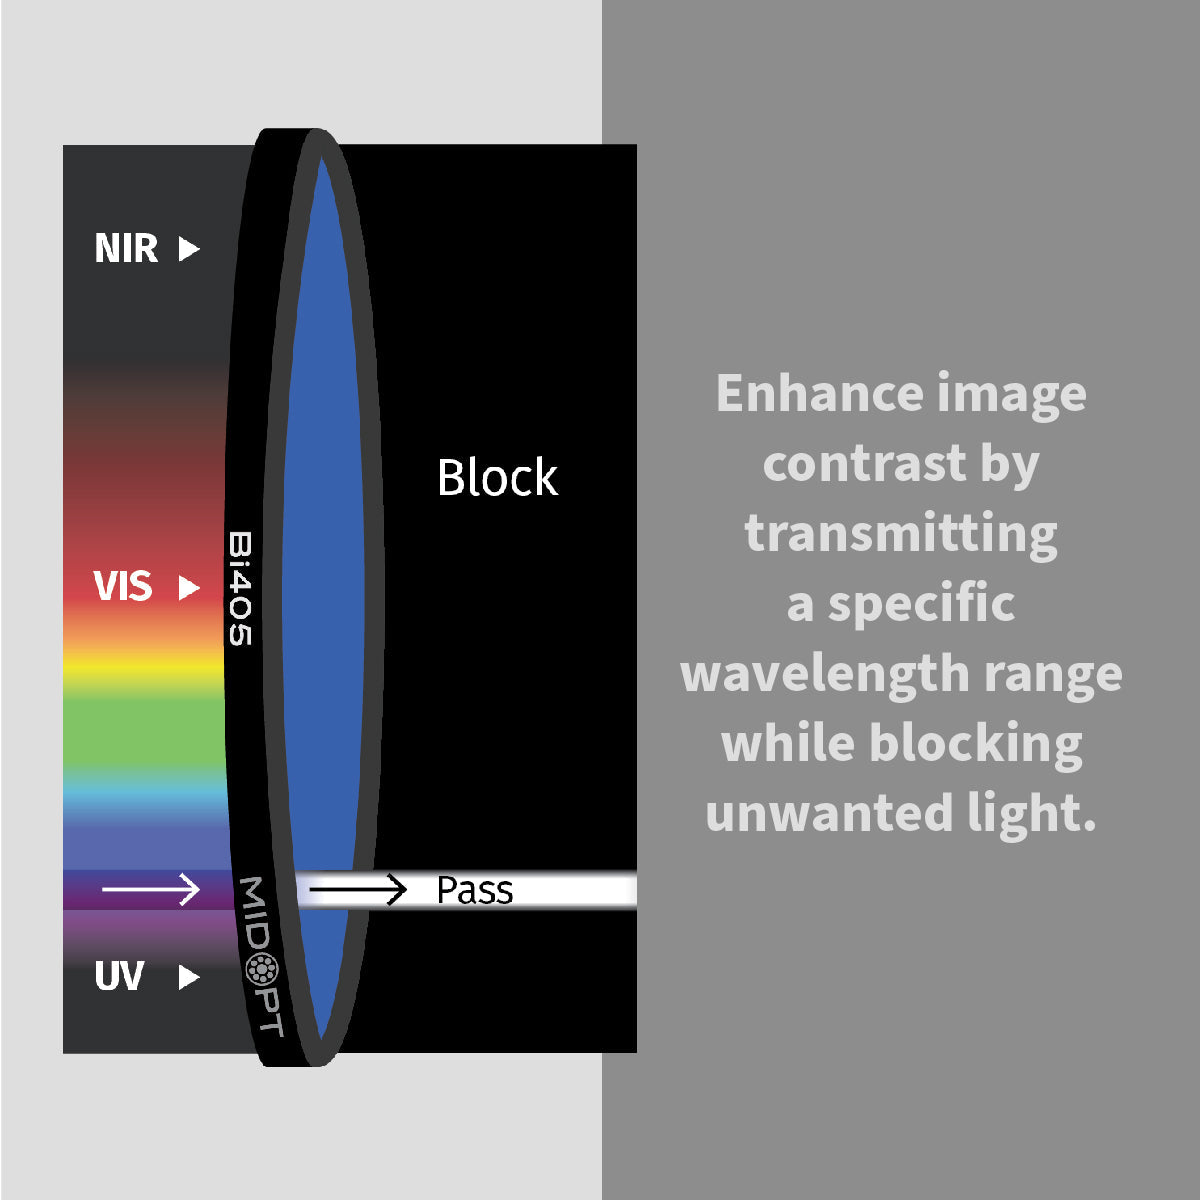
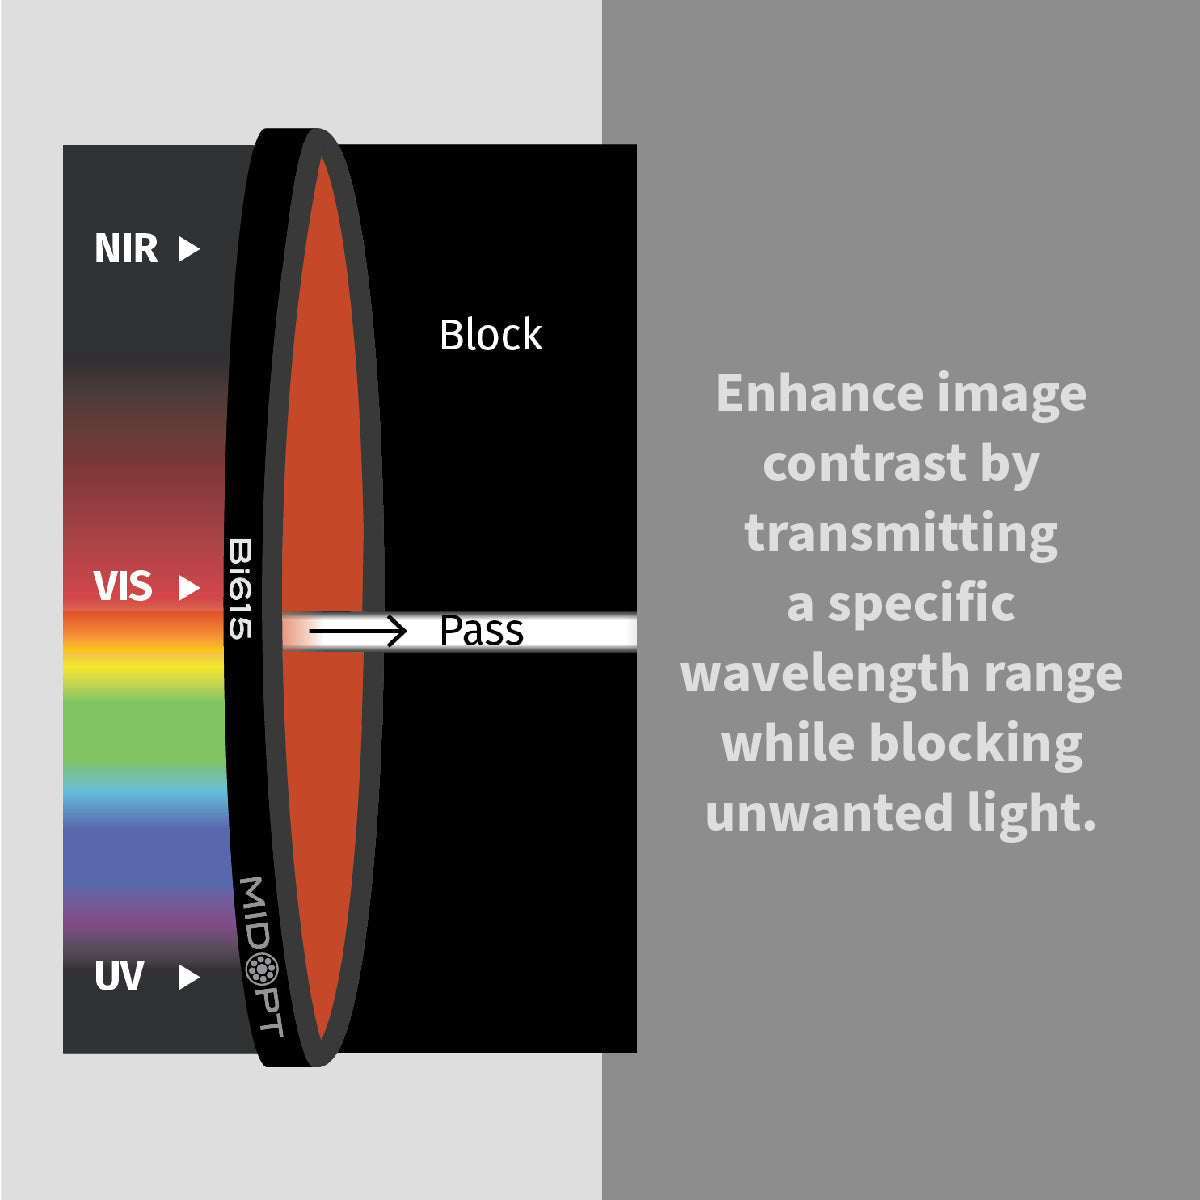
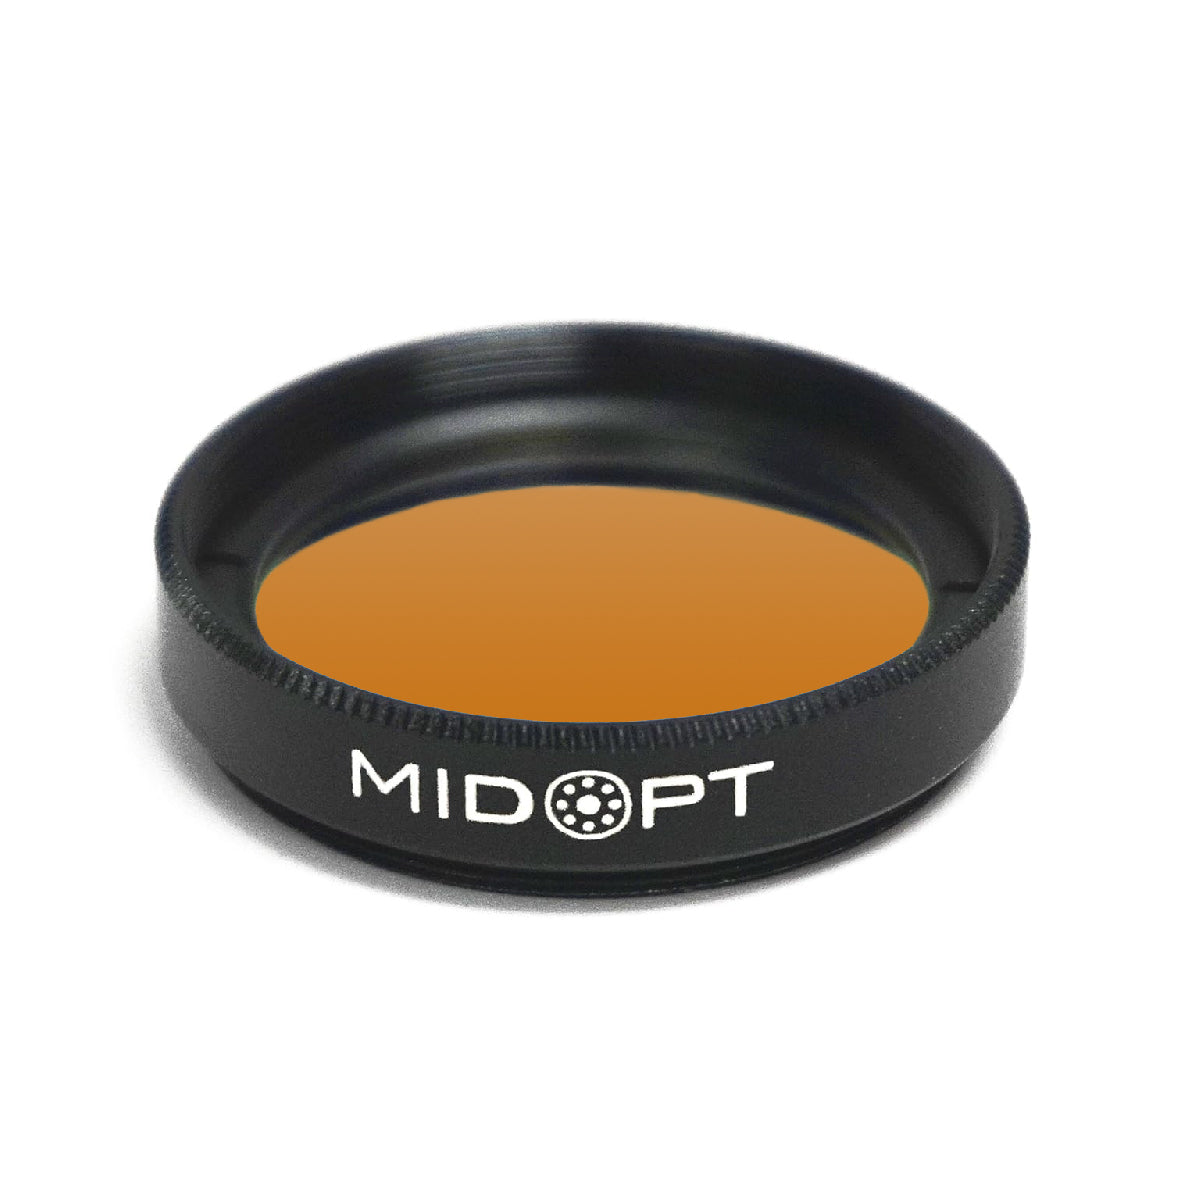
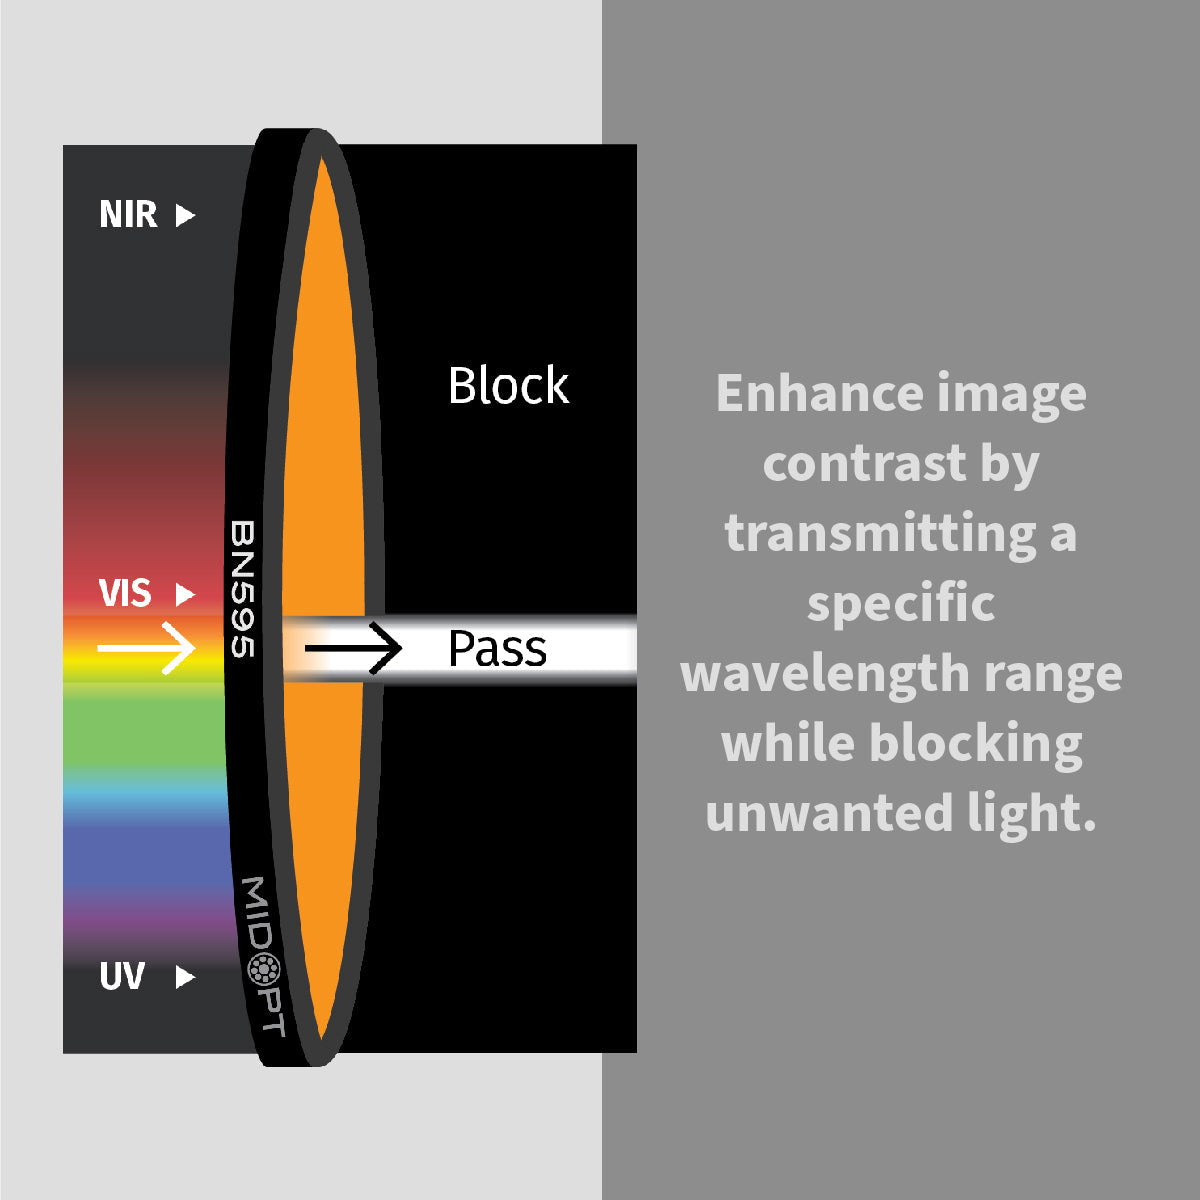
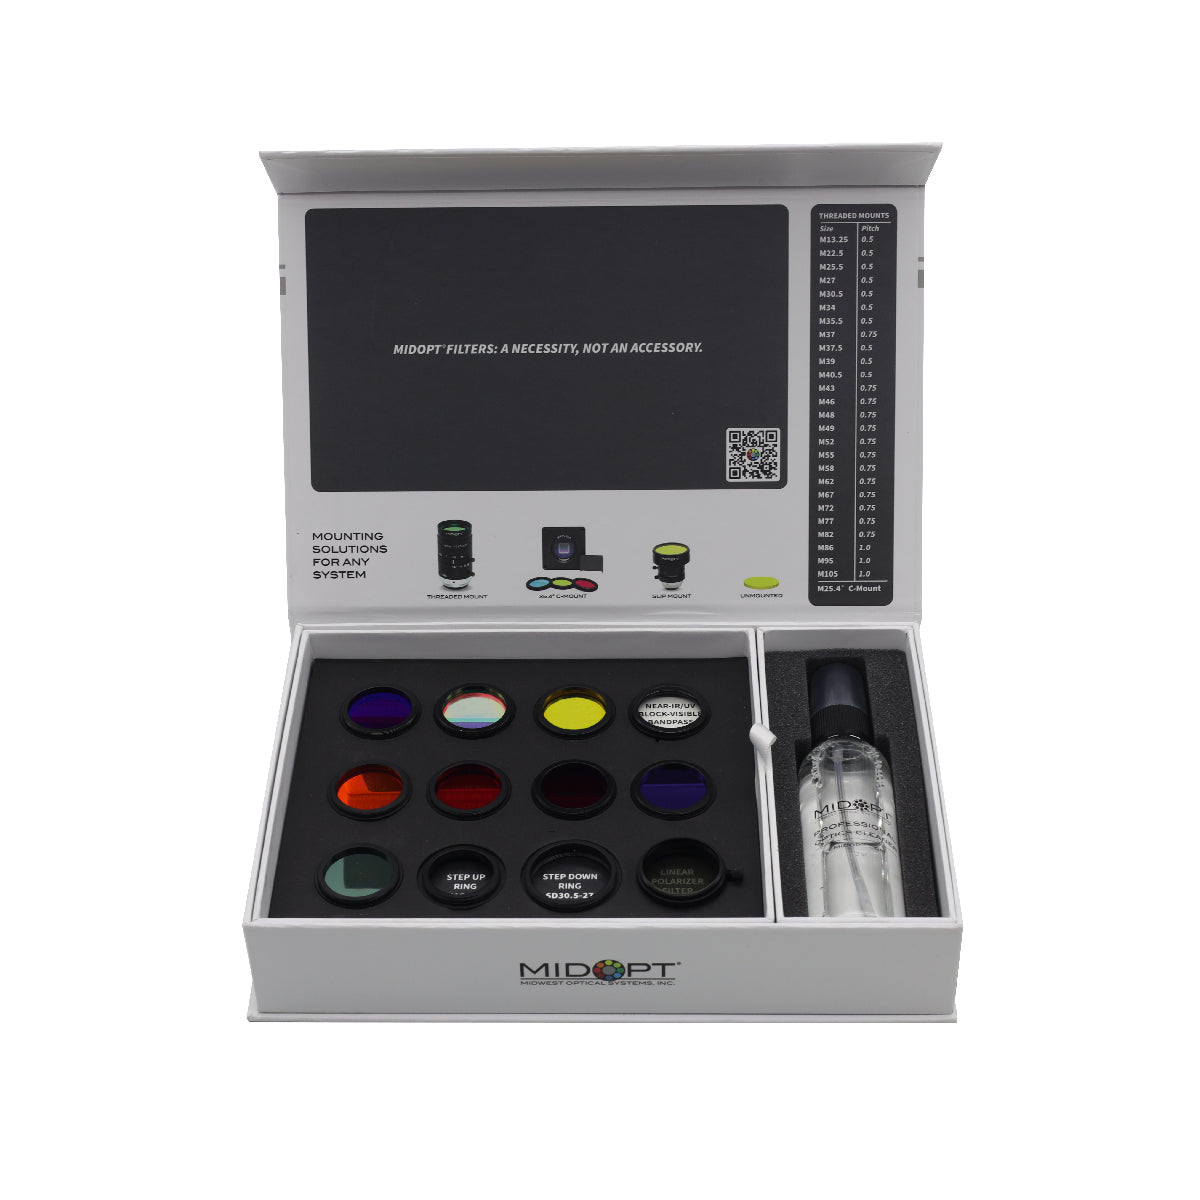
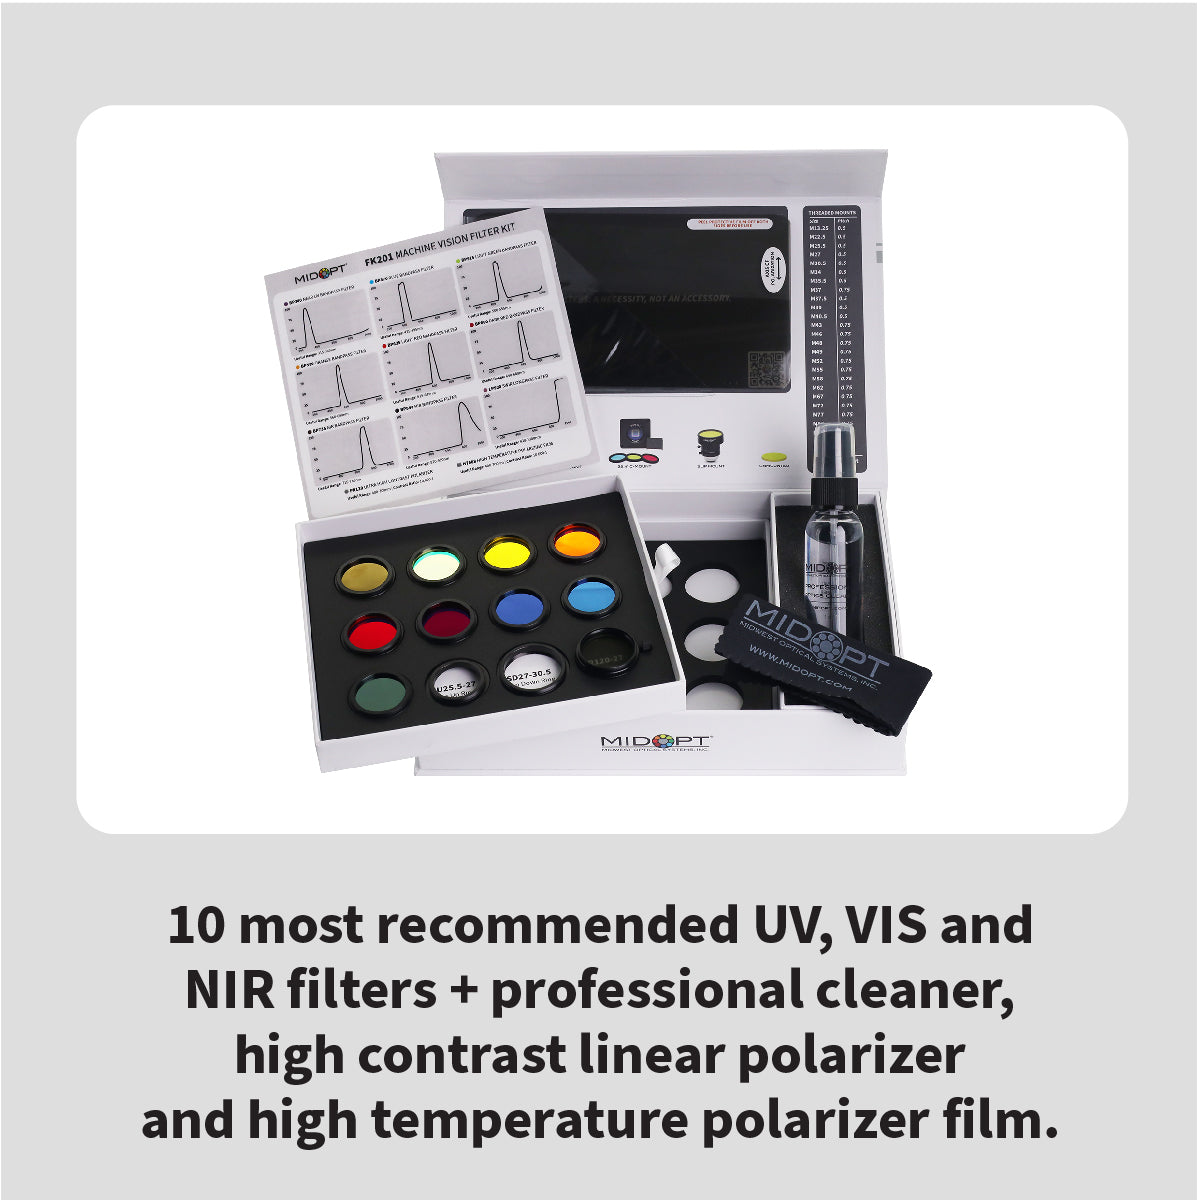
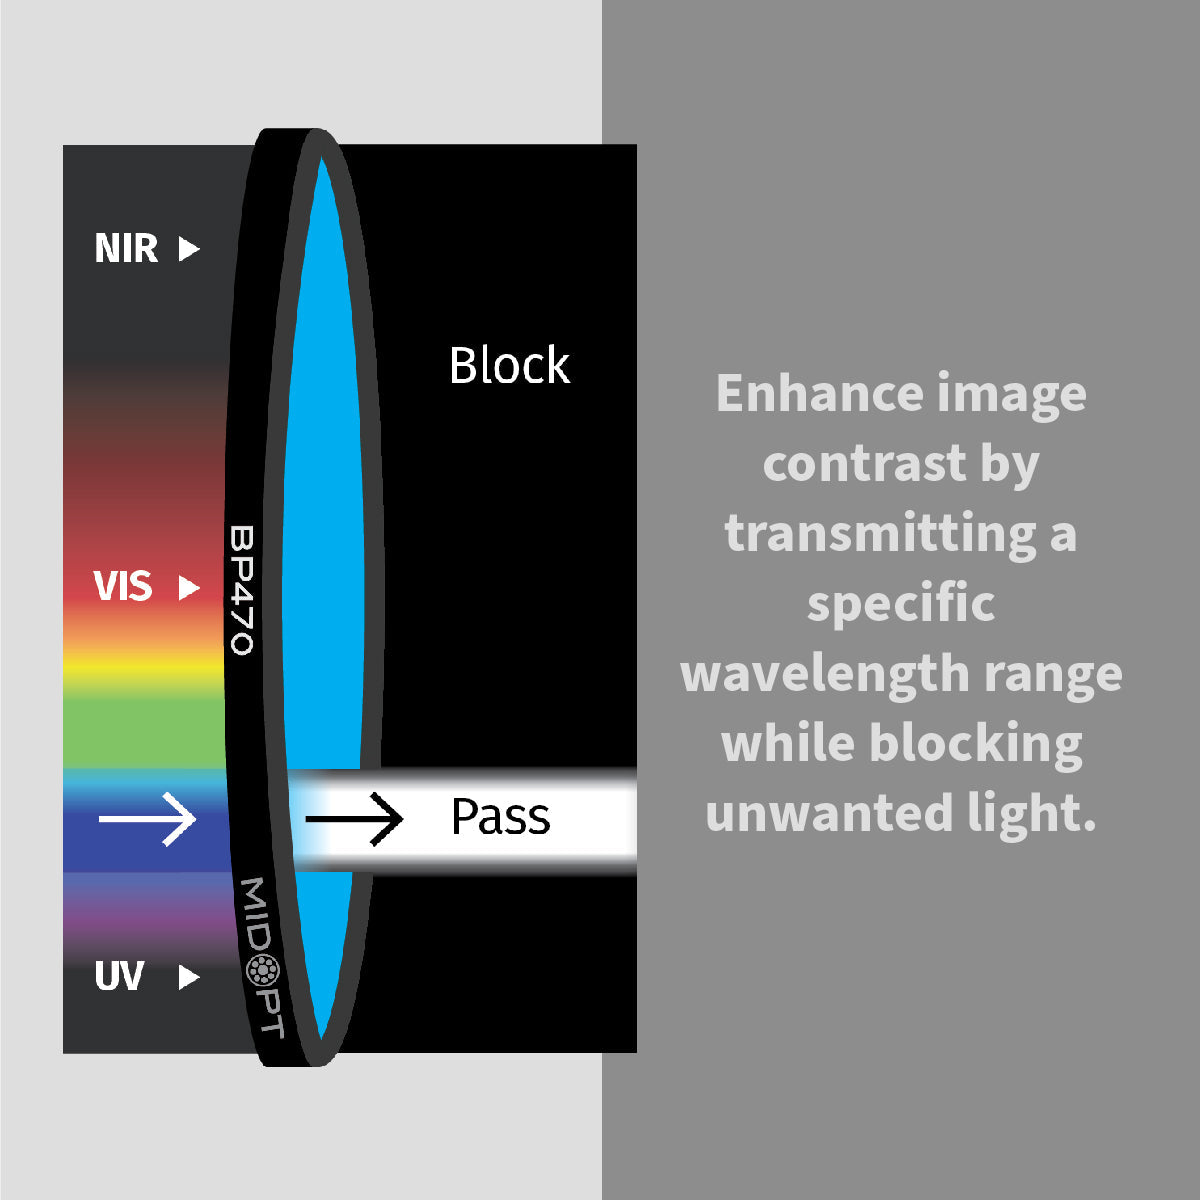
Overlooking Optical Filters
The Problem: Ambient light interference and poor contrast can degrade image quality—even with a good lighting setup. The Fix: Incorporate optical filters to:
- Block unwanted wavelengths
- Enhance contrast for specific features
- Improve signal-to-noise ratio
At FJW Optical, we specialize in precision filters that work seamlessly with your lighting system to deliver cleaner, more reliable images.
Lighting is a core component of any successful machine vision system. By addressing these common mistakes, you can dramatically improve inspection accuracy, reduce errors and get more value from your imaging setup.
Whether you’re designing a new system or troubleshooting an existing one, optimizing your lighting strategy is one of the fastest ways to boost performance.